 The hardest part of these paleo pancakes was deciding which of my mom’s amazing jams and jellies to put on them! Life has gotten me away from this blog. I take pictures of my food all the time and wish I had time to put them up on the blog. So when I made these today, I had to take the time and actually do it. I went and got honey from my friends at Homestead in the Hood today and that, of course, called for pancakes for dinner! Now, I’m very much a fan of easy things to cook because my chronic illness leaves me fatigued if I attempt too much. So, I threw these paleo pancakes together in ten minutes. Super quick, just a handful of ingredients, and nice-textured and delicious! As mentioned, the pancakes are paleo, and I’ve included instructions for egg replacements to make this recipe vegan or AIP! Oh, and in case you were wondering, I went with wild blueberry jam...  Ingredients: 1/3 c. cassava flour 2 T. coconut sugar ¼ t. baking soda ¼ t. cream of tartar ½ t. vanilla powder 1 egg 1/8 c. water 2 t. coconut oil Directions: Whisk dry ingredients together. Add and whisk wet ingredients. Cook in pan with coconut oil over medium heat, about 45 seconds on each side. It's as easy as that! Makes about five small pancakes. Special instructions: For vegan egg: mix 1 T. ground flax with 2 T. warm water. Let sit for five minutes. For AIP egg: mix 1 T. gelatin with 2 T. warm water. Let sit for five minutes.
0 Comments
 Hey everyone! At Christmastime, I promised my friend Rachael that I would post the recipe for my truffles. I am now, six months later, keeping that promise. These truffles are very smooth and creamy, and I’ve found them to be a good treat that you can share with other people! I’ve made quite a few batches since my initial one at Christmas, and have come up with some fun variations. They can be very festive or elegant, and it was making these in my own (kinda) kitchen that really gave me the sense of making my own home and my own life. When I was younger, my mom made a lot of gourmet food and fancy desserts. I kinda grew up on that and began learning a lot of cool cooking techniques. Over the last several years, things happened, and we don’t get that kind of food as much anymore. Now I’m a college student with a severely limited diet and it’s hard to find the time to devote to making really good food. But those techniques still come back and have helped me to invent a lot of good food with the little bit that I can eat. Some of those things are fairly quick and easy and get incorporated into my daily food routine, but most of them take a lot of extra time and brain power. This recipe falls in between those two extremes. While they do take some extra time and patience, the technique is reasonably easy and some of the time is hands-off so that you can do something else while waiting. I used to peruse my mom’s candy-making books, and truffles were always presented as fairly difficult. This can be true, especially when you have to temper chocolate in order to coat them as I grew up doing. But with this recipe, you really don’t need to coat them, and in fact, they’re very good with just a dusting of cocoa powder on the outside! These start with unsweetened chocolate so that there is no cane sugar in them, which means it’s very easy to sweeten and flavor them to your palate! 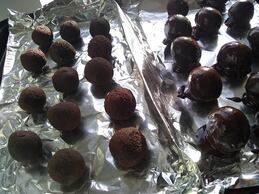 Ingredients 6 oz. Guittard’s 100% Unsweetened Baking Chocolate ¼ c. canned coconut cream 2 T maple syrup 2 t vanilla flavoring Cocoa powder Directions Chop chocolate bars into small pieces. In a medium pot, heat coconut cream at a medium temperature while stirring until simmering. Turn down the stove to low and add chocolate. Continue stirring until chocolate is melted. Add maple syrup and stir to combine. Turn off heat and add vanilla. Put in fridge and let cool until firm. When chocolate is cooled, remove from fridge and coat hands in cocoa powder. Scoop up chocolate about 2 teaspoons at a time and roll into spheres. Roll in cocoa powder. Coat hands as needed to prevent sticking. Store in fridge and enjoy! These truffles are also very easy to customize. One of my favorite variations is steeping Earl Grey tea in the coconut cream and then straining and reheating before the step of melting the chocolate. Another old family favorite is adding peppermint extract when adding the vanilla!
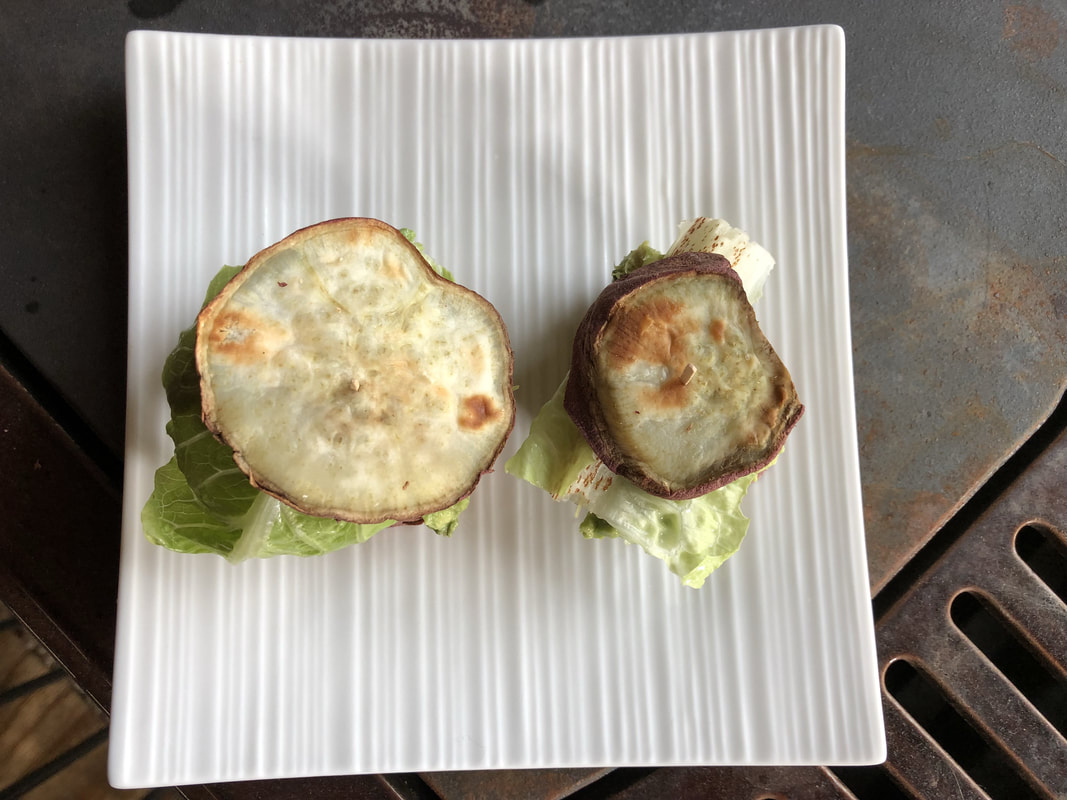
So, there you are, Rachael! Hope you can use it! 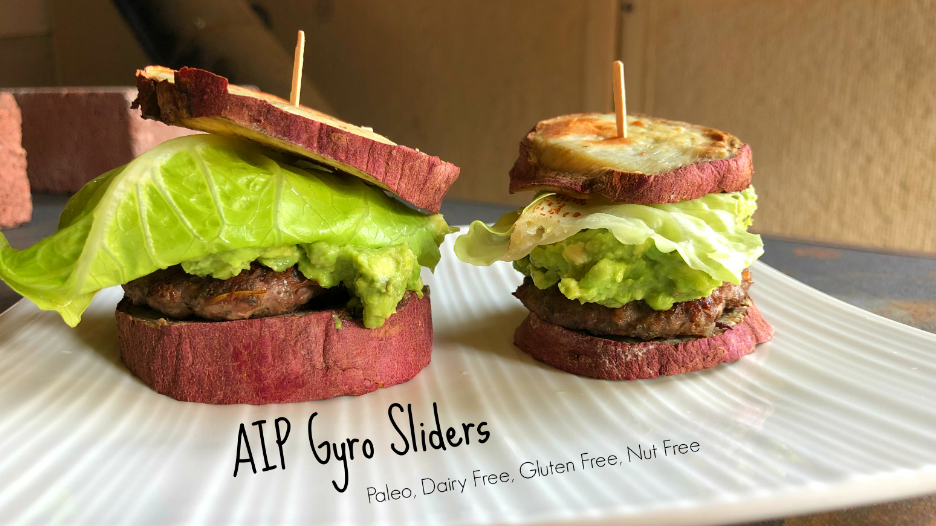 So today I'm going to share with you one of my very favorite lunches EVER! AIP, Paleo, or normal-ish eating habits. This is one of my favorites, hands down, across the board! There are days when it’s a good day only because you didn’t throw up. There are days when it takes all the strength you can muster to stay on your feet. And if you’re stupid like me, you’ll add a thousand things on top of that. I apologize for my prolonged absence. It happens when you have a chronic illness. I’ve been a lot worse ever since coming from YCCLC, and had friends visiting and a summer arts festival. So there has been a lot keeping me away from here! Most days I can stay on my feet, thankfully, but I’ve had some pretty terrible days, while being in town every day for at least three weeks straight.  I had to eliminate every food I was eating, and add a few things back in a little at a time. Unfortunately, some days all I can eat without being sick is the worst food ever invented, bone broth. But on days I feel okay, I can still have my all-time favorite food, these AIP gyro sliders! Besides the bone broth, lamb is the only protein that I can have. But that’s fine, because I LOVE lamb. Growing up on Israeli food, I got to eat it quite often. These sliders are on a sweet potato bun with an AIP guac and lettuce. They are full of Mediterranean flavor, and they are my absolute favorite lunch! Someone asked me the other day if I was tired of these yet, because I have them so often, but no. I still can eat this almost every day! I hope you enjoy these as much as I do!
Directions:
Heat the oven to 425*. Slice the sweet potato into ¼ inch slices and bake until soft. Let cool. Mix the lamb and the first list of spices. Divide the lamb into sixteen patties. Freeze twelve. Cook four of the patties. While they cook, mix the avocado and the second list of spices. Place patties on sweet potato slices. Top with guac and lettuce. Finish with another sweet potato slice. 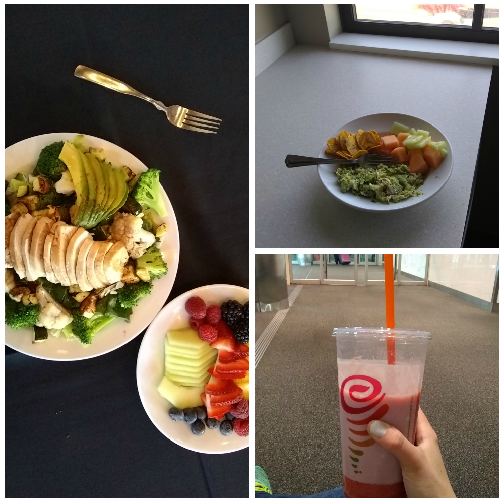 Y'all, I successfully traveled solo! That's kind of a big deal for me, being the shy, antisocial person I am, but it's an even bigger deal because I did it while on AIP! That's difficult even when you have people to back you up and help you out... In this post, I'm going to give you a few tips on traveling on the AIP diet specifically! Hope they help! 1. INGREDIENTS This category covers a lot of things! First, when you're ordering food, ask for the ingredient list MULTIPLE TIMES. I had a reaction on one of my flights because I did not press the Starbucks barista multiple times to make sure she was telling me EVERY INGREDIENT in my smoothie. Not fun, don't want you to have to experience that! Also under this category, if you are going to an event where they will be providing food, send ahead a list of the ingredients you can eat. Stress that the list is the limit, and also note things that you particularly need to avoid. I said that I would provide my own seasoning (I'll cover some AIP seasonings in another post!) and that I could NOT have carrots or anything slightly contaminated by them. Otherwise, I was content with picking things out if I needed. Finally, CHECK CONDIMENTS. I almost had a bad experience in a restaurant where I was going to get a vinagrette on my salad. They brought out the ingredients of the vinagrette for me to check, and I realized the balsamic vinegar had caramel color in it. So check the ingredients in your condiments, and if it says 'spices', forget it. 2. RESTAURANTS Restaurants are actually super accommodating, which I wasn't expecting. In all the restaurants I went to on this trip, however, all I had to do was mention I had a bunch of dietary restrictions, and there was someone willing to take a list of ingredients I could have and make me a salad! They even made sure to use fresh ingredients carefully so that none of it got contaminated! My favorite place to eat was Jamba Juice. There were three smoothies I could have without modifying anything! The Greens 'n' Ginger smoothie was AMAZING. But anywhere where there are salads, you should be able to eat! Know that the ingredients will not be as high quality, and you might get some discomfort from it (see #4), but you won't die of starvation! 3. PREPARING YOUR OWN FOOD Stay somewhere where you will have a kitchen so that you can make food if you need to. Breakfasts were the hardest for people to accommodate, so I made all of mine in my room. The first night, one of the cooks at CCU made me a bunch of poached chicken. So I had a couple of pieces of chicken to work with, besides the food that I got before the conference. I had brought some with me and had a friend take me shopping to get the produce/liquids I needed. My favorite breakfast was shredded chicken and avocado with fruit and plantain chips. Another thing that I don't think I would have survived without was sauerkraut. It's so soothing on the stomach, and is also my version of AIP comfort food! 4. EMERGENCIES They happen. And you should be prepared! Make sure you have extras of all your supplements with you. If they're not part of your regimen, bring Swedish Bitters. Have lots of enzymes and charcoal. If you encounter sub-quality food or contamination, you will be SO thankful you have these! 5. FOOD STAPLES There are a few foods (some of which I mentioned above) that I was super thankful to have with me. I brought all of my food that wasn't produce or liquids in one of my carry-ons (and I was traveling carry-on only...). Some of the things that I brought with me were: Plantain chips Bone broth drink powder Coconut milk powder Celtic sea salt (in a purse-sized container and an extra bag) Seasonings Dried fruit (both freeze-dried and normal) Coconut flakes Tigernuts The things I obtained after arrival were: Avocados Sauerkraut Fruit Coconut aminos Coconut oil Coconut water (super helpful on long, tiring, or hot days!) Sweet potato chips A new snack that I discovered on this trip was Wild Zora's Mediterranean Lamb bar. It's AIP, and even I can have it! No carrots, THANK GOD!!!! I hope that this helps you in your next AIP (or even limited-diet) travel! Comment with your own tips, because all of us are looking for ways to make life easier! 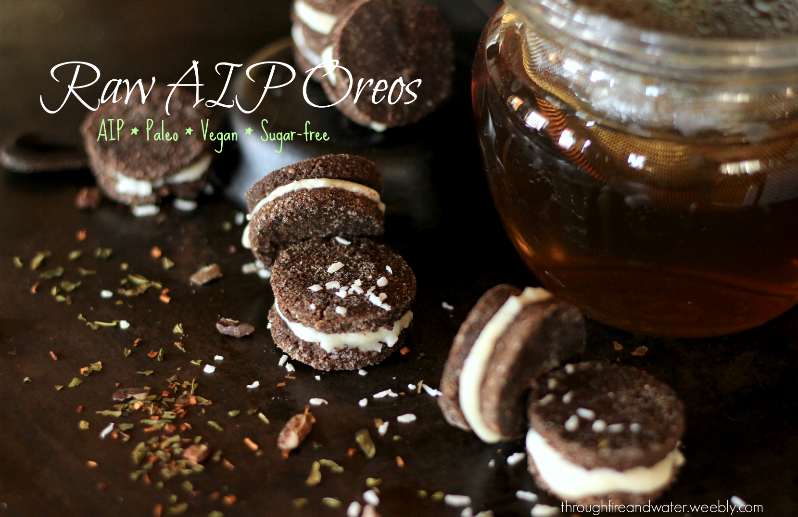 Well, I’ve done it! I have officially been on the Autoimmune Protocol for almost three weeks. I’m just starting to feel the benefits – I have more energy and ability to do things, even though I’m still tired, and one of the biggest pluses is that I can read harder things and for longer amounts of time! When college algebra starts clicking in my brain, then we’ll really know it’s working, hey? I probably consume too much fruit, but I’m trying to survive mentally as well as physically, so whatever. One of the hardest things, though, has been no chocolate. I mean, it’s kind of essential to my well-being! I’ve found a few ideas that use carob instead of cacao, and I think I’m starting to get the hang of making things more chocolate-y. Or my taste buds are forgetting what real chocolate tastes like. 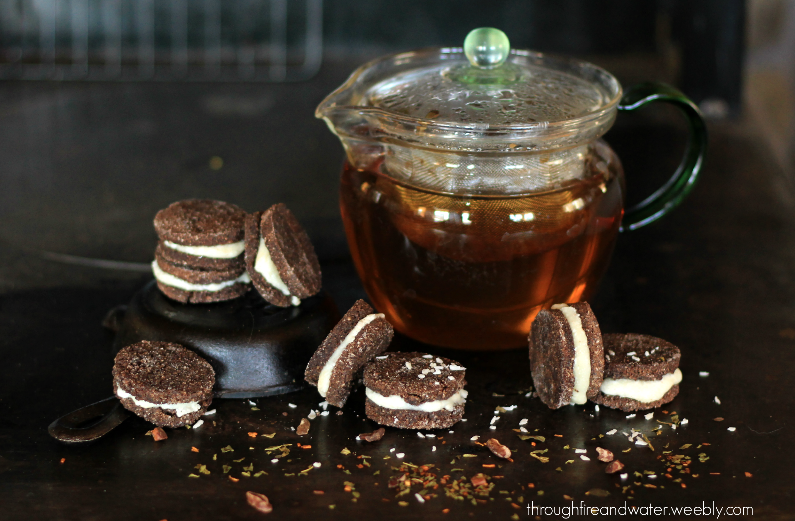 Isn’t it funny how that happens? When you can’t have things, you forget what the real versions of those foods taste like, and it gets easier to eat the fake stuff. Eventually, you stop craving the foods you can’t have. Most of the time. Those fries smelled really good the other day, though. I’ll probably never get over fried food. (Southern girl alert!) Anyways.  These oreo copy-cats were inspired by Minimalist Baker’s raw, vegan oreos. When I made that recipe, I was thinking ahead to AIP. I played with the recipe in my head, and decided that I could make an AIP version without too much trouble! The first go was amazing! It turned out a little too coconut oily for my taste, though. Well, in between my first two batches of these, I made some really amazing carob chips based off of a recipe that used palm shortening instead of coconut oil. It was amazing, and something that I hadn’t thought of before! Palm shortening usually makes me think of that cheap ‘buttercream’ on storebought cakes that is just soooo disgusting. But this worked! In this recipe, the amount of fat you use is up to you. Less fat makes significantly less, and tends to crumble, but the flavor is a lot richer. I would make an amount somewhere in the middle.
Directions:
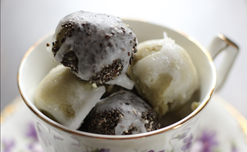
Place all ingredients except coconut butter in blender/food processor and process until completely combined. Line a baking sheet with parchment paper and spread cookie dough approximately 1/4 inch thick. Cut with doughnut hole cutter. Let chill until hardened. (This is a good time to make coconut butter if you make your own.) Pry each piece up. Spread with about 1/2 t. coconut butter and place second cookie on top. Repeat until all cookies are filled. Let dough warm up and re-use. Serving Suggestion: Enjoy with a cup of Sipping Streams Tea Company's Northern Serenity. 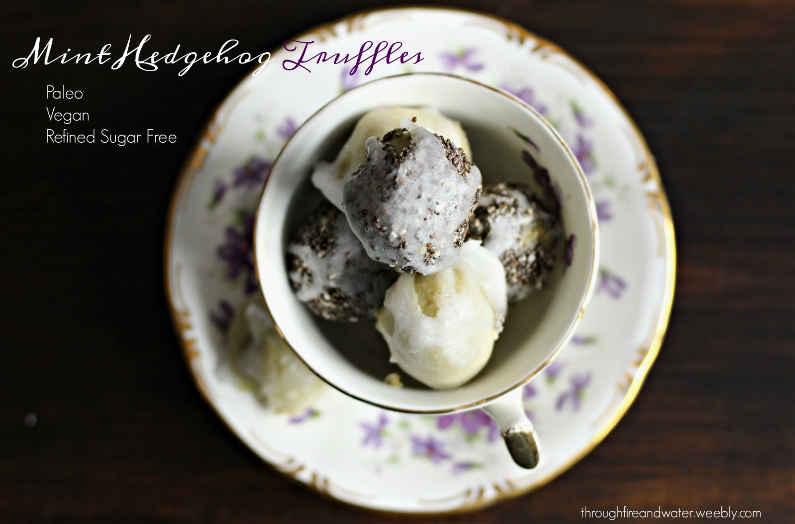 So I have a bit of an obsession with hedgehogs… and I love chia, and I wanted to make my mint truffles a little more truffle-y. These happened! One of the recipes that’s been on my allergy Pinterest board for a long time has been these Avocado Mint Meltaways. Mostly because they were intriguing and minty and had chocolate. But for some reason, I wasn’t content with just following a recipe. Go figure. I wanted them to have more substance than the original recipe, because when I snack, it’s not usually for a light snack, but for substance. And I decided not to coat them in chocolate, because – let’s face it – I’ve been going through our cocoa powder waaaay too fast. 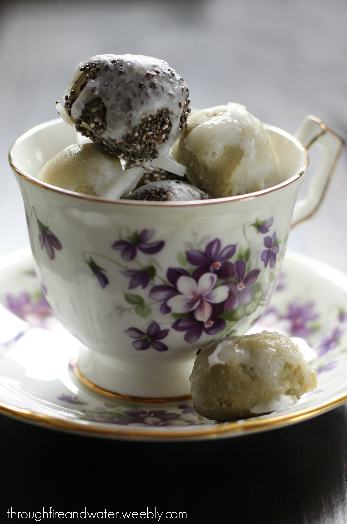 Oh, the pictures. The teacup was a 13th birthday present from friends, and it’s still my favorite. It makes me think about springtime and violets and light swirly clothes and perfect temperatures! And we’re back to that time of year! The spring breezes are even affecting us up here, and, though I looooove winter, I’m getting excited about spring! Anyways. These go perfectly with the weather, though. I like the fresh, cold taste of the mint and xylitol combined with the pretty pastel green. It’s kind of like meltoff running through a mossy creek bed… or maybe I’m just weird in my mind. This was my first time playing with melting xylitol, and I want to try to make actual candy with it sometime. I melted it and then drizzled it over the top of the truffles. What recipes remind you of spring?
Directions: Makes 15
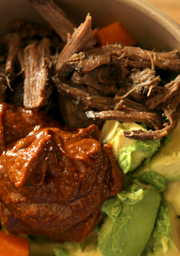
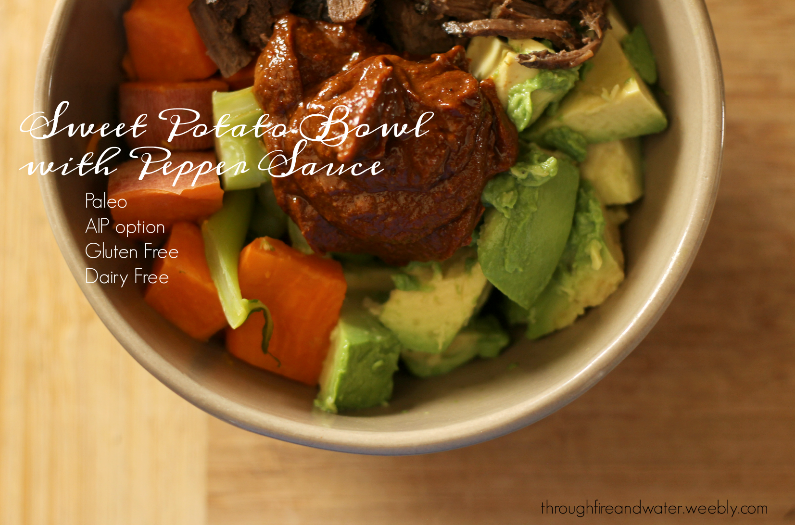 We’re heading out to the west Yukon River for a week, so the blog will be quiet for a bit (now that I've gotten into a bit of a routine with it!) Before I go, though, I have another delicious meal for you. One of my very favorite food blogs is MinimalistBaker.com – check it out, her food is AH-MAZ-ING and easy! A recent post of hers that landed in my inbox was this Spicy Korean Cauliflower Wing recipe. That one didn’t take long to make it to the table! But I had to reformulate the gochujang sauce recipe into something that I can eat. At that point, it probably wasn’t even recognizable as gochujang, but it was GOOD. The whole recipe was amazing, in fact, and my family is begging to have it again! The sauce in the recipe was obviously going to be quite spicy, which is not up the alley of everyone in my family, so I backed off on the red pepper and used chili powder. The result is a fairly sweet sauce with a nice umami background and a bit of a kick. I kept the rest of my red pepper sauce in the root cellar, with the intention of making the following recipe. When we were staying with our friends in CA over Thanksgiving, I found that the easiest way for me to eat was to store pre-cooked vegetables and meat in the fridge, mix them into various servings, and cover it with avocados and amazing sauces. (When I start my AIP diet, I plan to use a variation of this technique, and I’ll share that with you once I implement it.) This sauce, is indeed amazing. 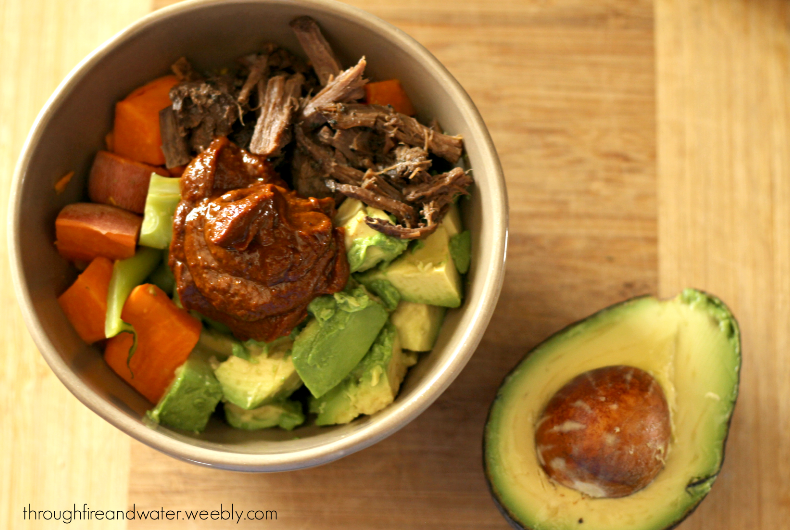 We had some leftover REALLY GOOD moose round roast that I used for this, but you could use any meat you choose. Just make sure it’s tasty. Or omit meat entirely for a vegan meal. This recipe is paleo as-is, but to turn it into AIP, substitute a different sauce. That’s something I’ll be working on in the fairly near future, so keep your eyes on the inbox! (Actually, don’t, that’s bad for your eyes and brain and basically all of your body.) It also makes a really good, easy lunch to pack. I steamed a whole sweet potato and all our leftover broccoli for this, and of course you have your half avocado. It’s as good cold as it is hot, so you don’t even have to corrupt it with microwaves! If you have a family who tries to steal your limited-diet food on a regular basis like mine does, you may want to make extras of this recipe. I had to fight hard to keep this one to myself!
Directions:
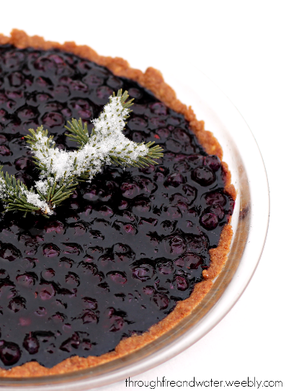
1. Steam sweet potatoes and broccoli for 10 minutes. 2. While vegetables are steaming, add all sauce ingredients to a blender and blend until smooth. 3. Place steamed vegetables into bowl. Slice avocado and add to bowl. Add meat, then place sauce on top. Enjoy!  I had a different post I was planning to publish this week, but a couple of days ago, my sister mentioned Pi Day was coming up. Nerd me went, “Oh, yeah, how’d I forget that?” Of course, the answer is easy – I forget everything. But I digress. In 2017, we only picked about a gallon of wild blueberries. It was a very sad year of blueberry harvest. We have picked up to seventeen gallons in a couple of days. So these are very special blueberries, and we had saved them for a very special treat. This recipe is based off of one that we’ve used for a long time – one that converted me to liking goat milk, in fact. One of my favorite variations included a meringue on top and roasted macadamia nuts nuts underneath the crème layer. This was one of the very first recipes that I began working on converting when I began my limited diet. In other words, it’s good. 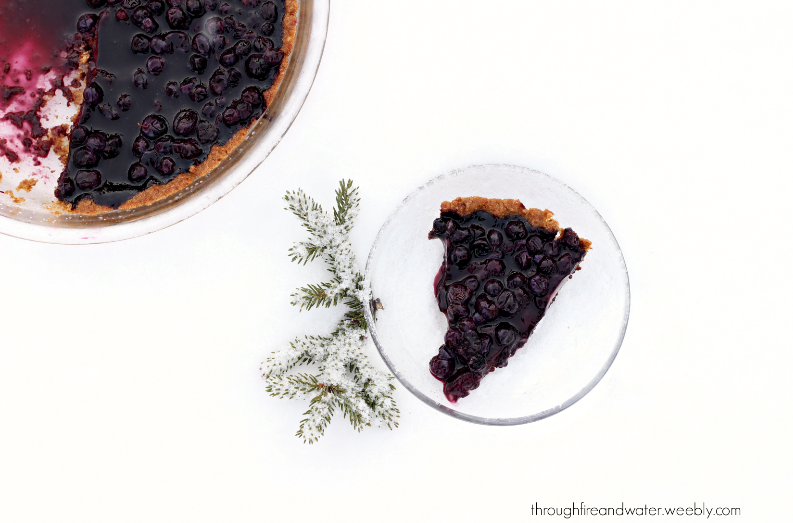 Funny things, holidays. We almost never do stuff for holidays besides the Big Four. Like, when did we start celebrating Pi Day? And then we have St. Patrick’s Day coming up. How did that even become a thing? Much less a national holiday? My siblings have already been running around the house singing the Irish National Anthem. No doubt The High Kings will be added to the mix soon. I think it's Allergy Girl #2 who has initiated the unfamiliar holiday mania... 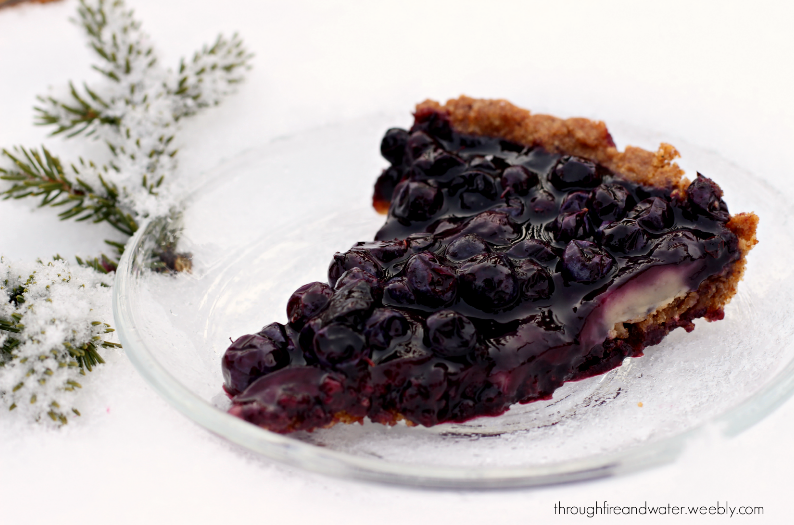 Anyways, blueberry crème pie. The crème layer is best when made with a sweeter, milder dairy-free milk like coconut or almond. If you use flax or cashew like I did (the only milks the allergy duo in our house can both have), I strongly recommend adding the stevia to the crème. It will help cover up the slightly stronger flavor. It definitely has a light, spring-y, happy flavor – but the warm temperatures have once again disappeared, and the snow is falling again. We are at 72 inches and counting! I love the snow – it’s so beautiful, and it blows my mind that the fact that every. Single. Snowflake. Is different! All of that six feet of snow out the back window, spreading across thousands of square miles, and every snowflake is unique! What an amazing Creator I serve! Back to the pie: it is paleo, refined sugar free, dairy free, and easy! Have fun! BlueBerry Crème Pie Serves 8 Oven @ 325* F
DIRECTIONS:
Crust: 1. Mix gelatin and water, let sit for five minutes 2. Place dry ingredients in dry carafe of blender or food processor. Grind into a smooth paste, then transfer to a medium bowl. 3. Add coconut sugar to gelatin egg, and then add the mixture to your nut paste. Thoroughly mix. 4. Press into pie plate. Poke the crust with a fork, then bake for 15 minutes. This is the only use of the oven, so you can turn it off. Let cool to room temperature. Crème layer: 1. In a small pot, whisk milk, arrowroot, and coconut sugar constantly over low heat until it begins to thicken. Turn off heat and continue to whisk until it becomes custard-y. 2. Once thickened, add vanilla and stevia, if desired. Cool to room temperature. Blueberry layer: 1. Mix all ingredients in medium pot. Simmer while stirring until thickened. Let cool to room temperature. Assembly: 1. Spread crème evenly in pie shell. Sprinkle with tapioca or arrowroot starch. This helps the layers stay distinct. 2. Spread blueberries over top, gently. Viola! You have made a blueberry crème pie! Store in the fridge, preferably uncovered to avoid condensation. For the record, the circumference of my pie is approximately 24 inches. Hi everyone, I’m back! I would apologize profusely for my absence, but as it was caused by myriads of auditions and other school deadlines, I feel slightly justified.  But it has been stressful! And for this girl who is not supposed to be stressed (hahahaha) it hasn’t helped with my health at all. Physical or mental. You know what always helps in stressful situations? C-H-O-C-O-L-A-T-E. Except… when you’re worried that you’re spending too much of your family’s precious resources on something just to make you feel better… I can’t just buy chocolate. If it’s something I can actually have, it’s going to be expensive. And I mean EXPENSIVE. Like over $5 for a 2-oz. bar. It’s ridiculous.  I messed around with making chocolate with cacao butter, since often coconut oil chocolate will make me feel kind of sick. But cacao butter is expensive. And at the rate that I was consuming chocolate the last couple of weeks, that just wasn’t fair when I wasn’t the one actually buying the butter. And if I was, I wouldn't be making it. So it was back to the coconut oil. I spent a couple of tries on it, but finally figured out a recipe that 1. doesn’t taste much like coconut and more just like normal chocolate (if you’re really sensitive to coconut flavor, don’t quote me on this one) 2. doesn’t make me feel sick! and 3. has no artificial sweetener. Winning all around on this one! Oh, the espresso? Growing up in a family where gourmet desserts are the norm, I learned early on that coffee in small amounts brings out the chocolate flavor without adding any of its own! I figured that would probably help my flavor problem out – and it did. This, sadly, is NOT AIP. Which is bad, because we’re talking about putting me on AIP. So I’ll start messing with that next. Always love a challenge! Well, when I feel up to it.
Melt coconut oil. Whisk in cocoa and carob powders until smooth. Add vanilla and espresso powder. Pour into mold (I used a silicone muffin tin). Let cool. I just leave mine outside, since it's well below freezing. You could just put it in the fridge, if you have one!
And then go sit down somewhere and take a moment to breathe and enjoy it. A good book always helps with that! 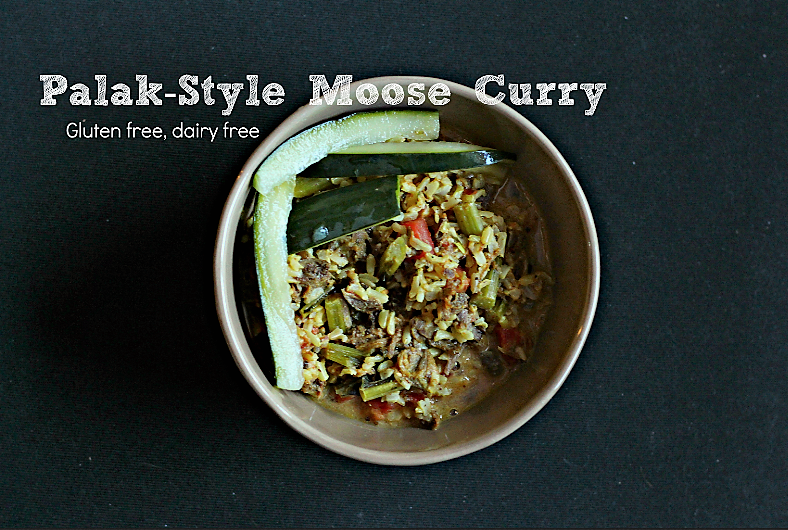 I love India. I love the people, I love the food. The loud music, not quite so much. But I’ve spent many years learning the lingo of Indian cooking, and usually turn out a couple of curries a week. It’s a good thing my family likes curry! About two years ago, I was making goat cheese by the gallon, and when I was given a Really Amazing Cheese Book, one of the first recipes I tried was paneer, an Indian cheese. Fortuitously, within a couple of days of making that cheese, a recipe landed in my inbox – Palak Paneer. Hm, what’s palak? Since I had the cheese to use, I decided to give it a shot. Turns out, it’s my favorite comfort food. This dish has a milk base, with cooked greens (usually spinach) and tomatoes, ground together and seasoned lightly. Okay, my dad was skeptical when I proudly served the pot of thick green-and-white liquid with spices floating on top. But my whole family approved of it! I think the best part is the toasted cumin/butter that goes on top. I froze a bunch of leftover garden greens this year – outer cabbage leaves, lots of kale, broccoli leaves – to make palak… and then got put off of dairy. And stuff like that just doesn’t taste the same with coconut milk, y’know? About a week ago, Mom picked up some flax milk. I was really nervous when I tasted it, because I dislike flax. But it was wonderful! In fact, so far, it’s the most accurate imitation of milk that I’ve tasted. So, not being a sweet or strong-flavored milk, it was perfect for the base of a palak. But we had stewed moose that needed to be used, and palak is typically a vegetarian dish. I decided to simply make a curry that had similar elements and flavors to a palak. It turned out delicious! I used kale stalks that we had in the freezer for my green component, but you could use any ‘green-tasting’ vegetable, and it would work fine. (Sorryyyyy... I promise to make a real palak recipe soon!) This is so easy to make – you can literally whip it up in 15 minutes, barring rice cooking time. Or you could just skip the rice and eat it as a soup! I love eating this on a snowy or rainy day. It’s so warm and comforting, and, I don’t know, the flavors are just perfect for that sort of day. And you can use a meat other than moose. I won’t judge, really. We can’t all be so fortunate. :)  Ingredients:
1 ½ lb. stewed moose meat (or beef) 2 lb. fresh or frozen green vegetables 28 oz. can diced tomatoes 2 c. flax milk ½1/2 t. cumin ½1/2 t. chili powder ½1/2 t. dried cilantro 2 cloves garlic, chopped Salt to taste Lightly sauté vegetables until thawed and softened. Add all other ingredients and simmer for 10 minutes. Serve over rice or as a soup. You can serve this with all sorts of decorations. I added pickles, you could put cheese or chopped cilantro on top! |
Dani M
I grew up eating my Mom's amazing gourmet cooking. And then something happened. Three years ago, I became very sick. After lots of testing, the types of food I could eat became very, very limited. My mission now is to live a non-toxic lifestyle and try to make good, affordable, easy, allergy-friendly food! Most of my recipes will be paleo, Whole30, and/or keto friendly. Disclaimer
I am not (yet!) a certified nutritionist of any sort. Anything I say about health or nutrition is simply from my own research, and I would advise you to research before taking any of my advice.
Archives
July 2020
Categories
All
|


 RSS Feed
